This article walks you through an install of Bright under Microsoft Hyper-V (Windows Server 2012/R2).

Hyper-V Virtual Switch Configuration
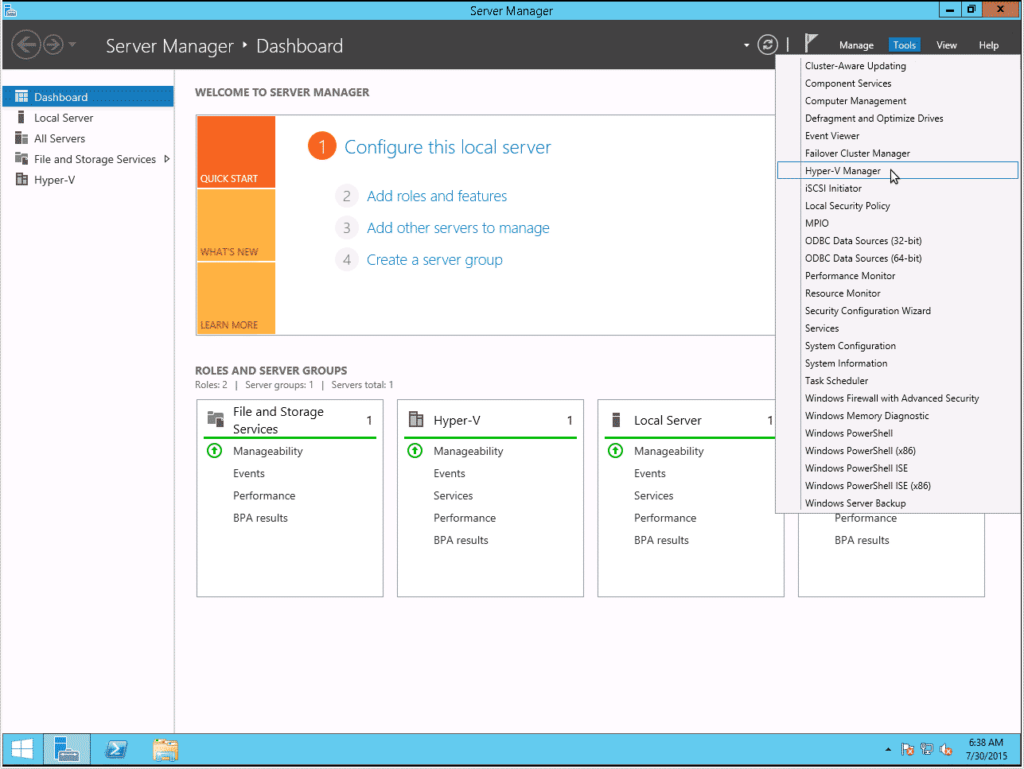
- Open Hyper-V Manager: From the “Server Manager”, point to Tools, and then click Hyper-V Manager
- In the Actions menu, click “Virtual Switch Manager..”
- Select “External” as Virtual Switch type and click on “Create Virtual Switch”
- Set a name for the Virtual Switch, connect the physical interface to the “External Network” and click “Apply”
- Select “New virtual network switch”, select “Private” as Virtual Switch type and click on “Create Virtual Switch”
- Set a name for the Virtual Switch and click “Apply” then “Ok”
Create a virtual machine for the head node
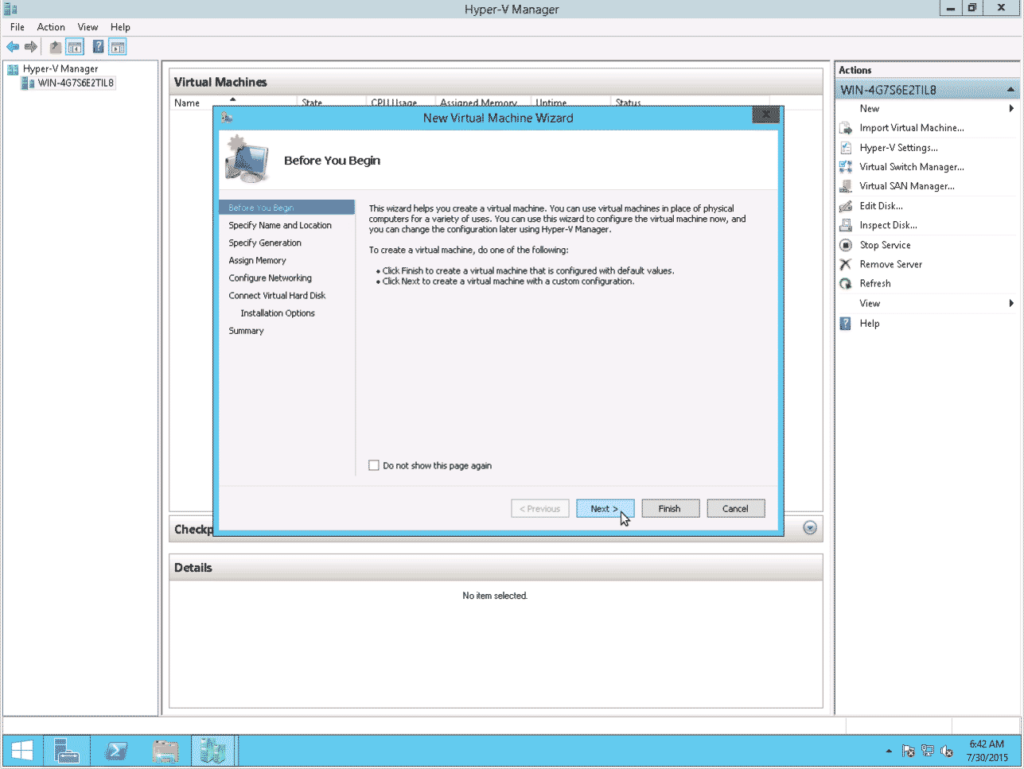
- In the Actions menu, click New, and then click Virtual Machine

- In the first screen click on “Next”, then set a name for the VM and click on “Next”


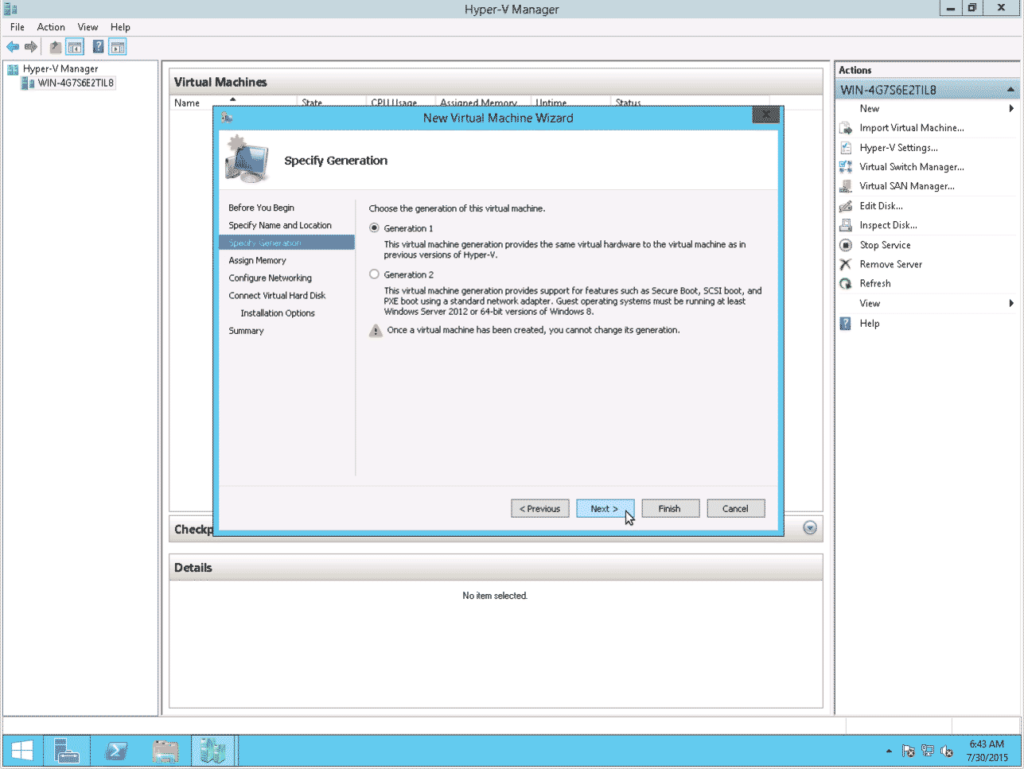
- Select “Generation 1” and click on “Next”
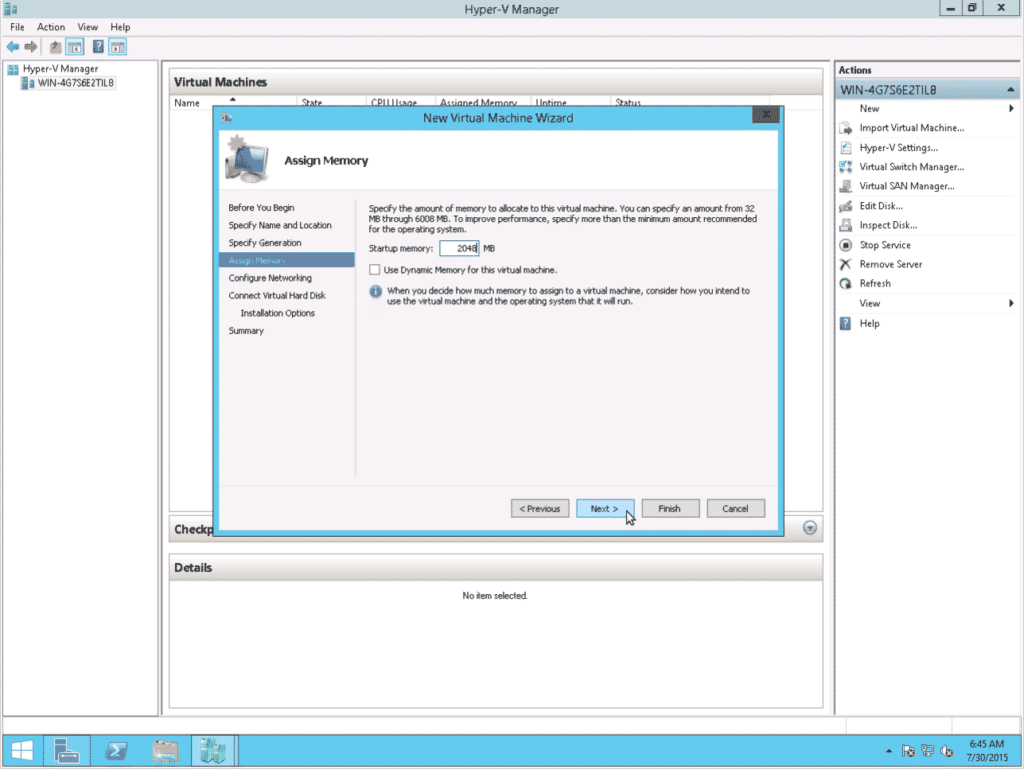
- Increase the memory to 2GB and click on “Next”
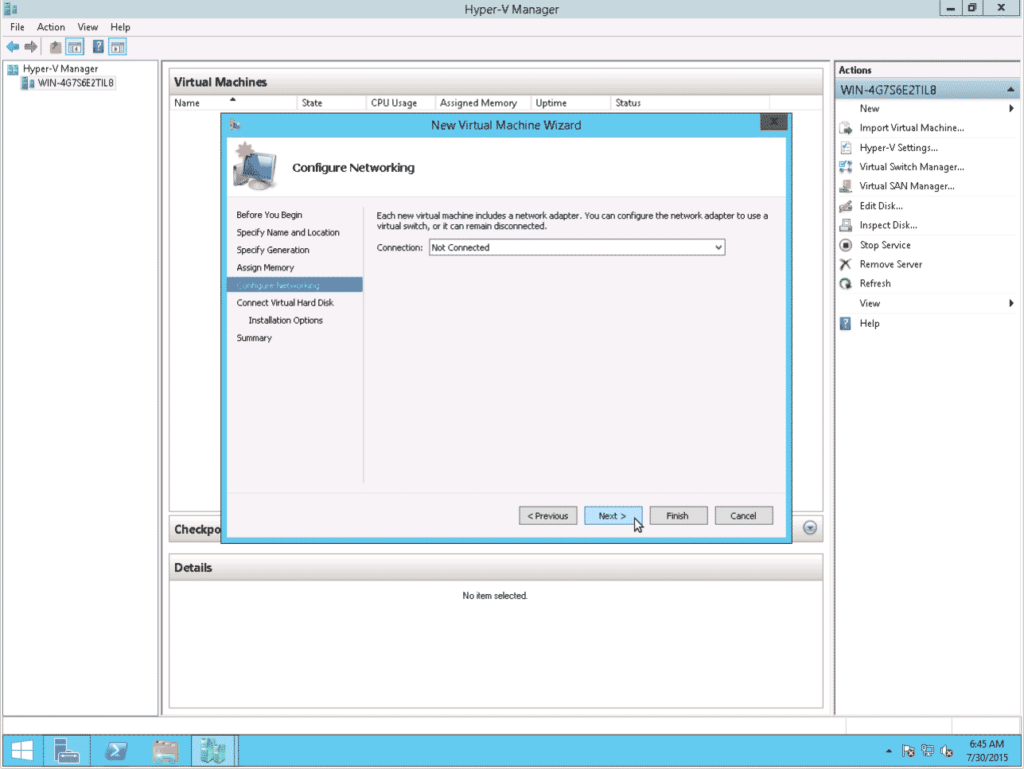
- Select “Not Connected” and click “Next”

- Choose the appropriate disk size and click on “Next”

- Select “Install an operating system from a bootable CD/DVD-ROM”, then click on “Browse…”, then navigate to the location of the Bright ISO image, then click on “Next”

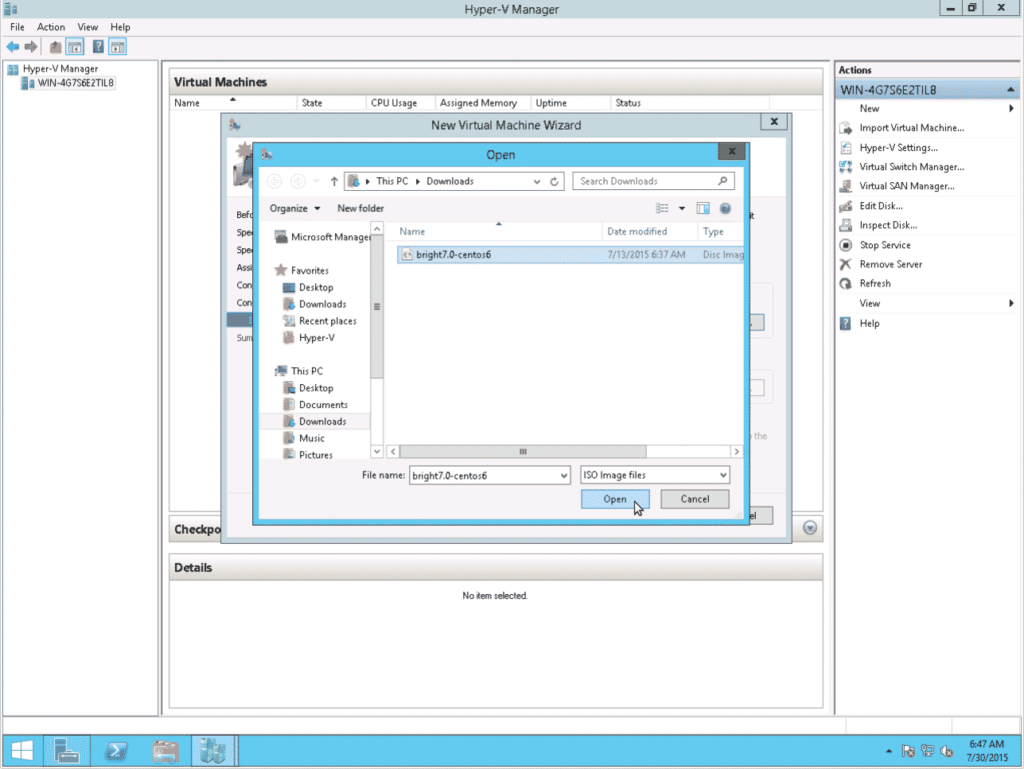
- In the summary screen click on “Finish”

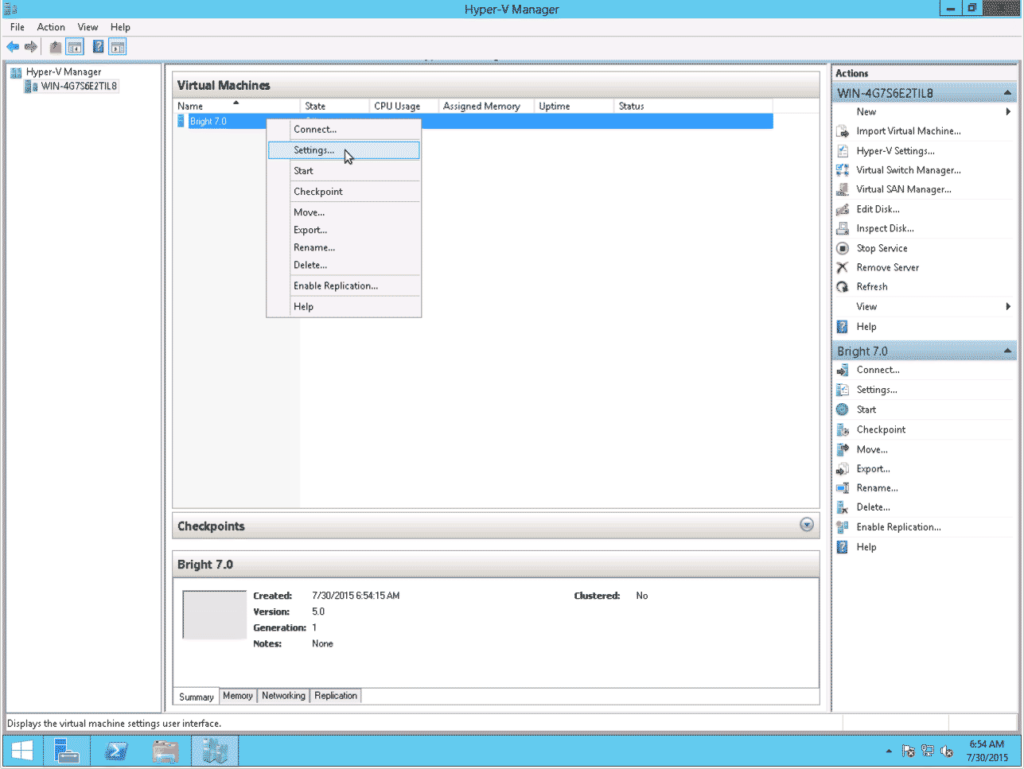
- Right-click on the virtual machine that you created, and then click “Settings..”

- Select “Network Adapter”, then click on “Remove and “Apply”


- Select “Add Hardware”, then choose “Legacy Network Adapter” and click on “Add”

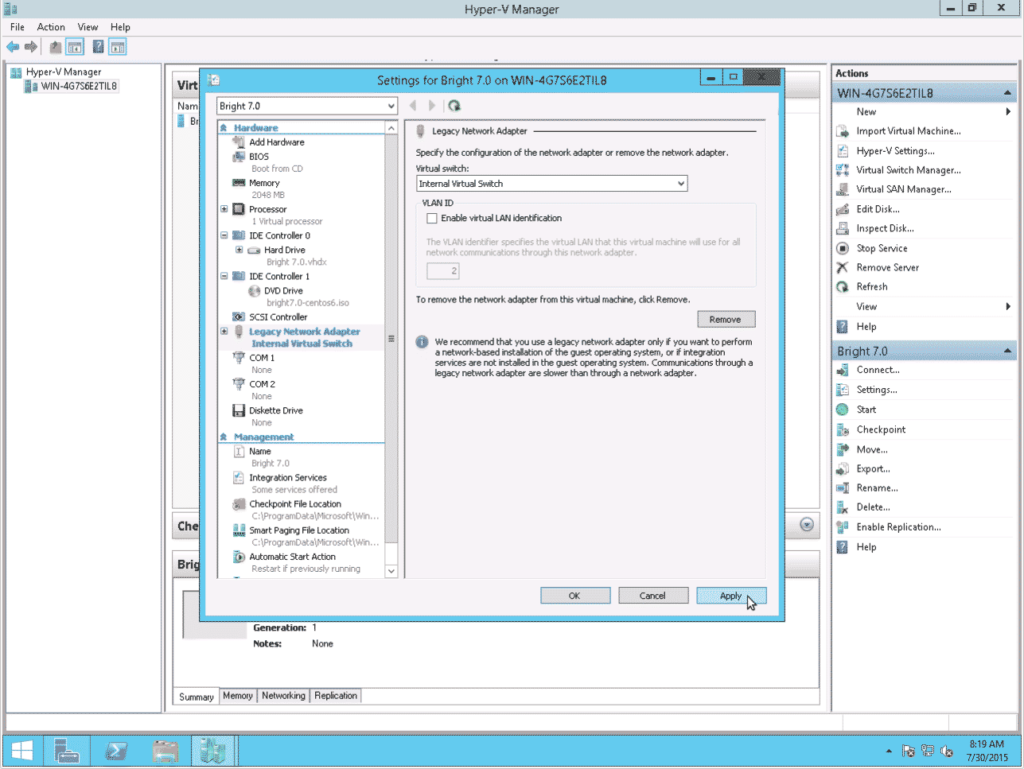
- Select “Internal Virtual Switch” and click on “Apply”
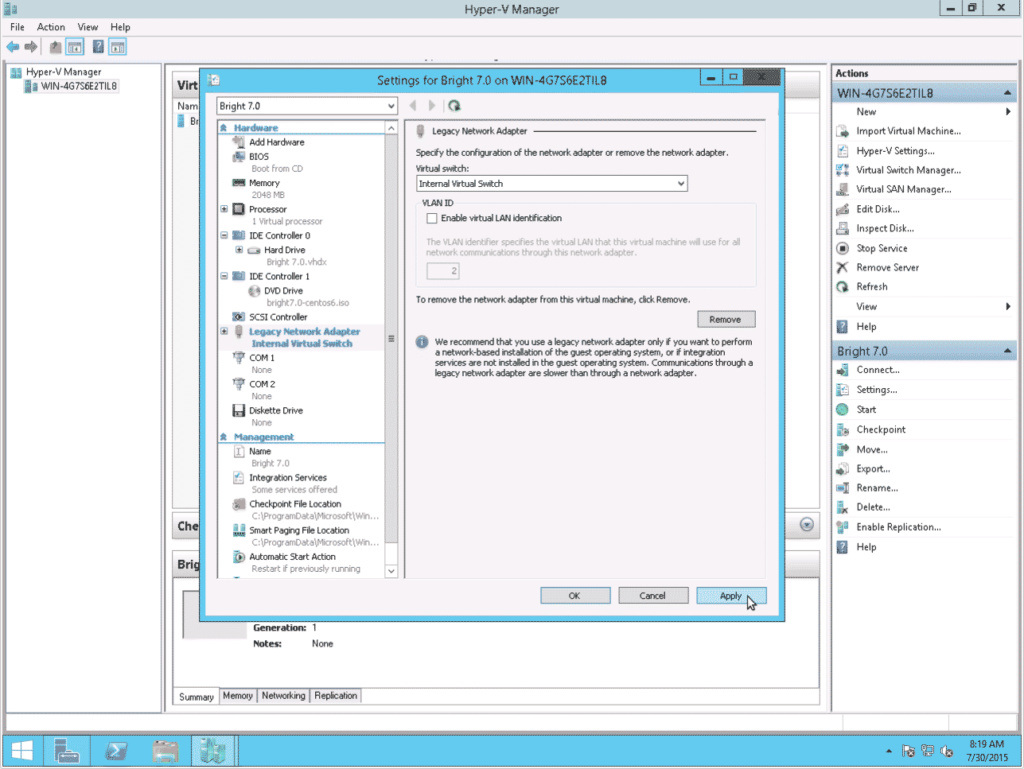
- Select “Add Hardware”, then choose “Legacy Network Adapter” and click on “Add”

- Select “External Virtual Switch”, then click on “Apply” and “Ok”

Install a Bright 7.0 head node
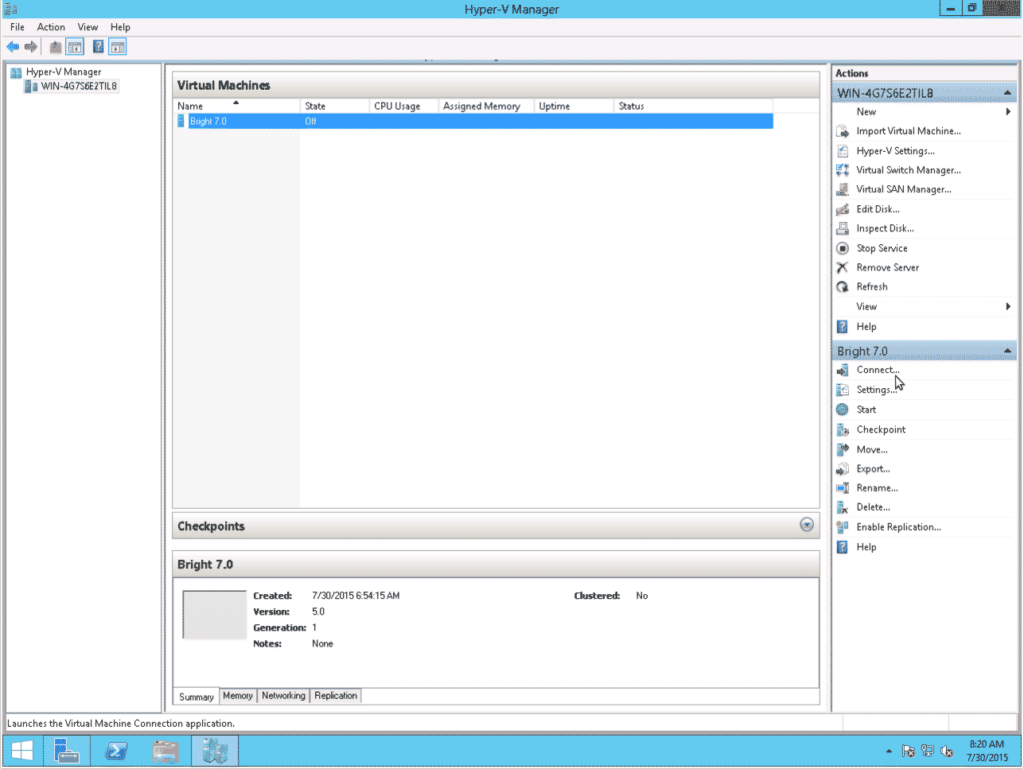
- Select “Bright 7.0”, then in the Actions menu, click “Connect…” to open the VM Console and click the “Start” button to power on the VM

- Select the “Install Bright Cluster Manager” option


- Before continuing with the installation, switch to console using “Alt+Ctrl+F2”, login as root and load the following kernel modules, using modprobe:
- hv_netvsc
- hv_storvsc
- hv_utils
- hv_vmbus
- hid-hyperv
| # modprobe hv_netvsc # modprobe hv_storvsc # modprobe hv_utils # modprobe hv_vmbus # modprobe hid-hyperv |

- Check the kernel modules were loaded:
| # lsmod | egrep ‘^h(v|id)_’ |

- Switch to installer using “Alt+Ctrl+F9”, you can continue installing the head node as described in the Bright 7.0 Installation Manual (section 3.3)

Note:
When you reach the layout selection page for the disks you might see an undefined message but you can ignore it. The disks will be detected properly and you can specify a custom layout XML schema to match your needs.
Install a Bright 7.0 compute node
- Create a new virtual machine in the same way that the head node was created, except that:
- you won’t need to connect the Bright ISO image to the CD/DVD Device
- you’ll need to configure only one “Legacy Network Adapter” as “Internal Virtual Switch”
- you’ll need to re-configure the boot order to start with Network (PXE)

- Right-click on the virtual machine that you created, and then click “Settings..”

- Select “Add Hardware”, then choose “Legacy Network Adapter” and click on “Add”

- Select “Internal Virtual Switch” and click on “Apply”
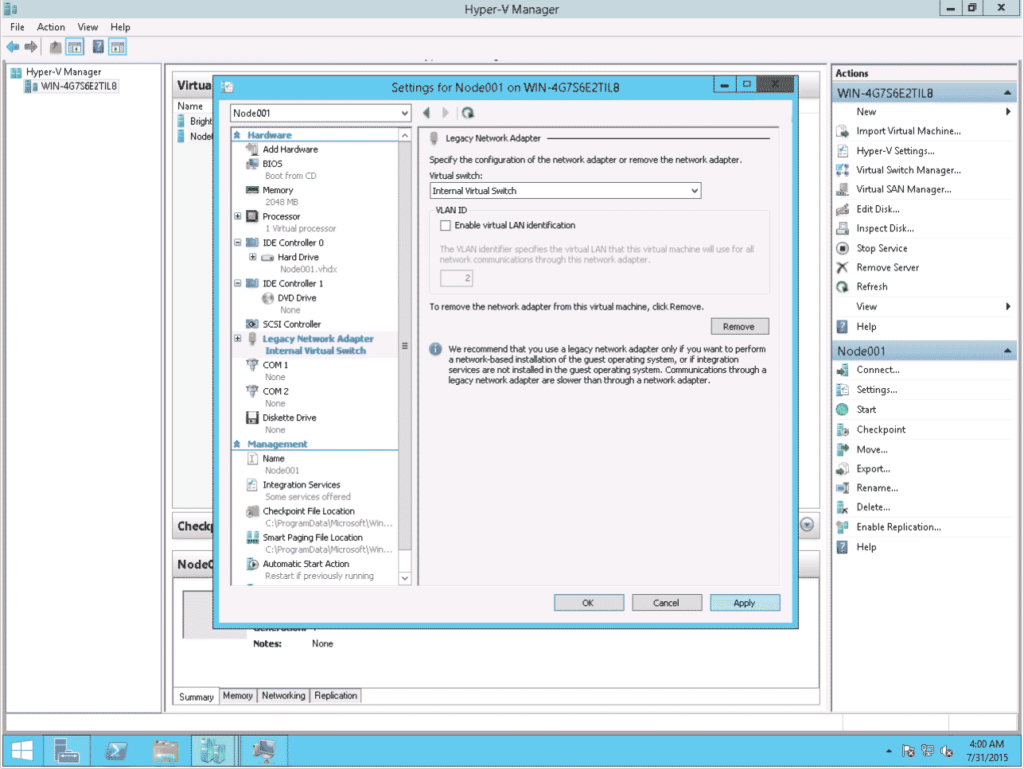
- In the virtual machine settings select “BIOS”, re-configure the boot order to start with Legacy Network adapter (PXE), then click on “Apply” and “Ok”

- Before starting the compute node, use cmsh to load the following kernel modules to the “default-image” stored on the Bright Head Node:
- hv_netvsc
- hv_storvsc
- hv_utils
- hv_vmbus
- hid-hyperv
- tulip
| # cmsh % softwareimage use default-image % kernelmodules % add tulip % add hv_netvsc % add hv_storvsc % add hv_utils % add hv_vmbus % add hid-hyperv % commit Thu Jul 30 11:48:32 2015 [notice] bright70: Initial ramdisk for image default-image is being generated Thu Jul 30 11:49:25 2015 [notice] bright70: Initial ramdisk for image default-image was regenerated successfully. |
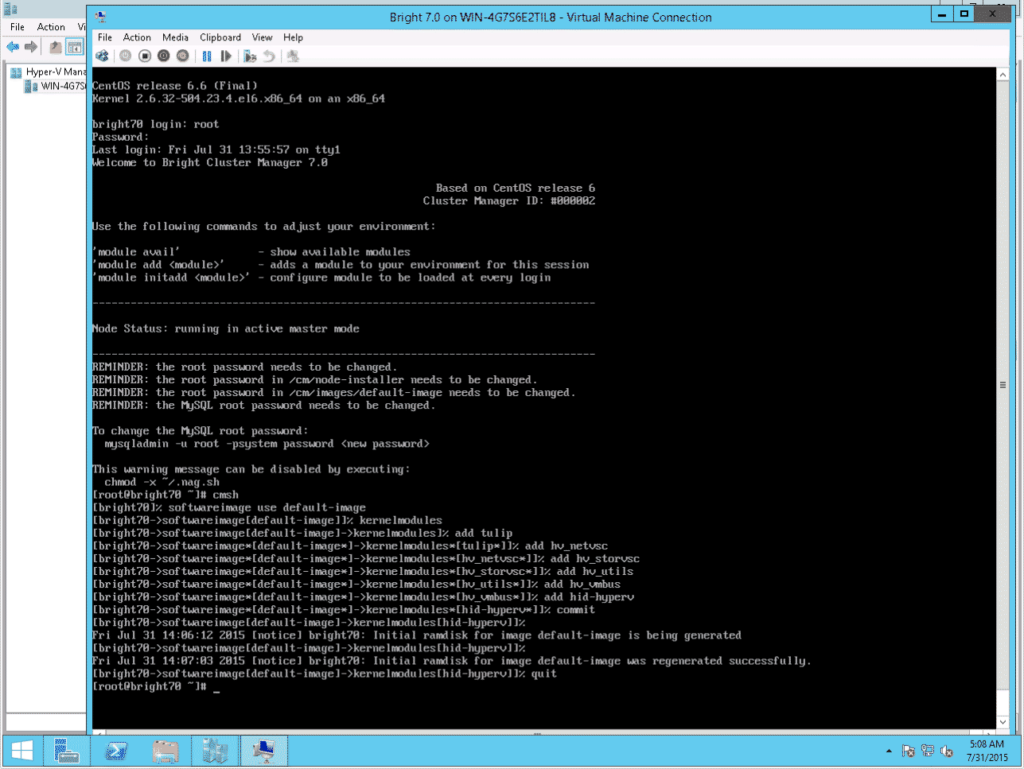
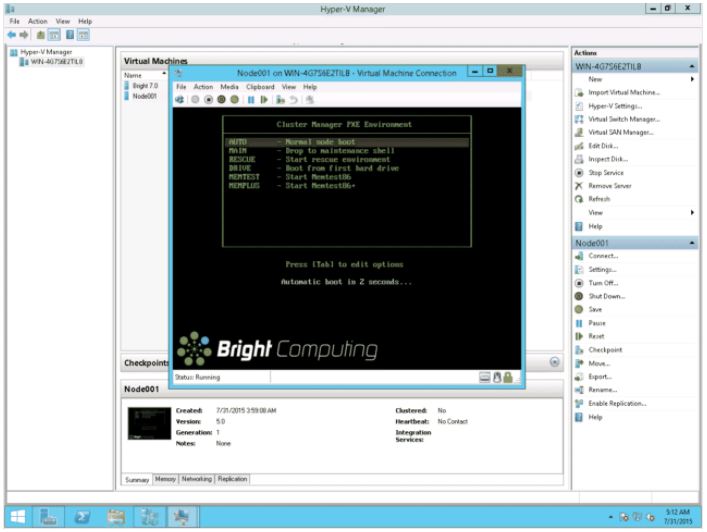
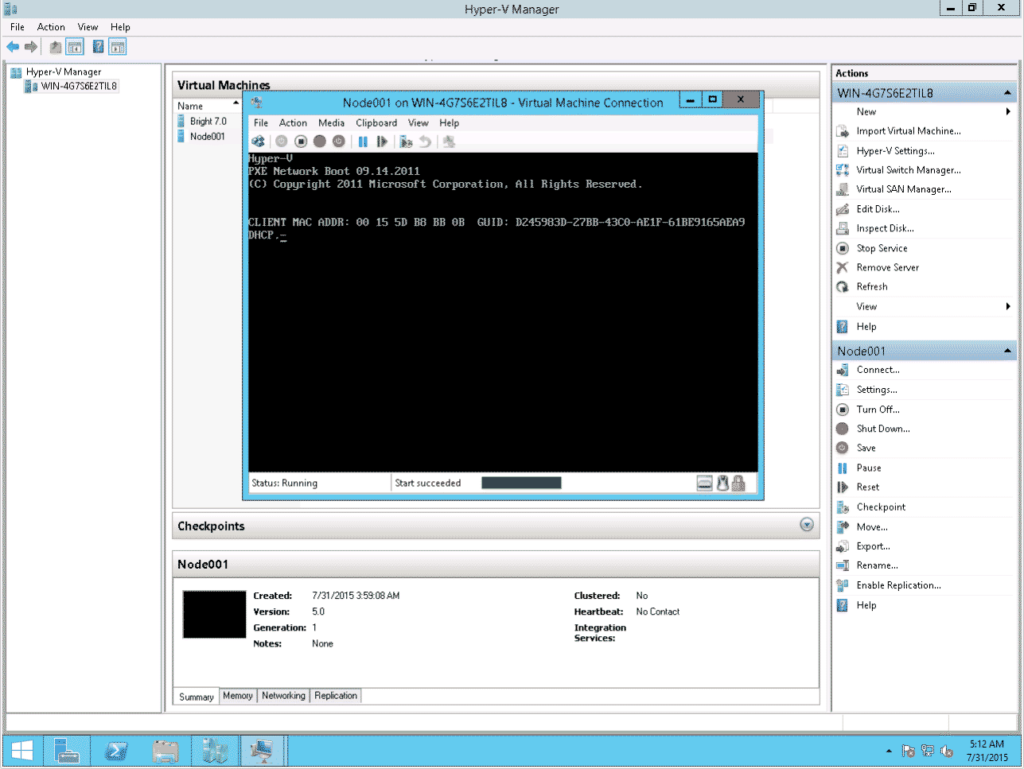
- Start the node. The node should start using a PXE boot from the head node, and should reach a fully booted up state, presenting a login prompt, just as in the case of physical nodes.

Links
Linux operating systems supported by Hyper-V:
